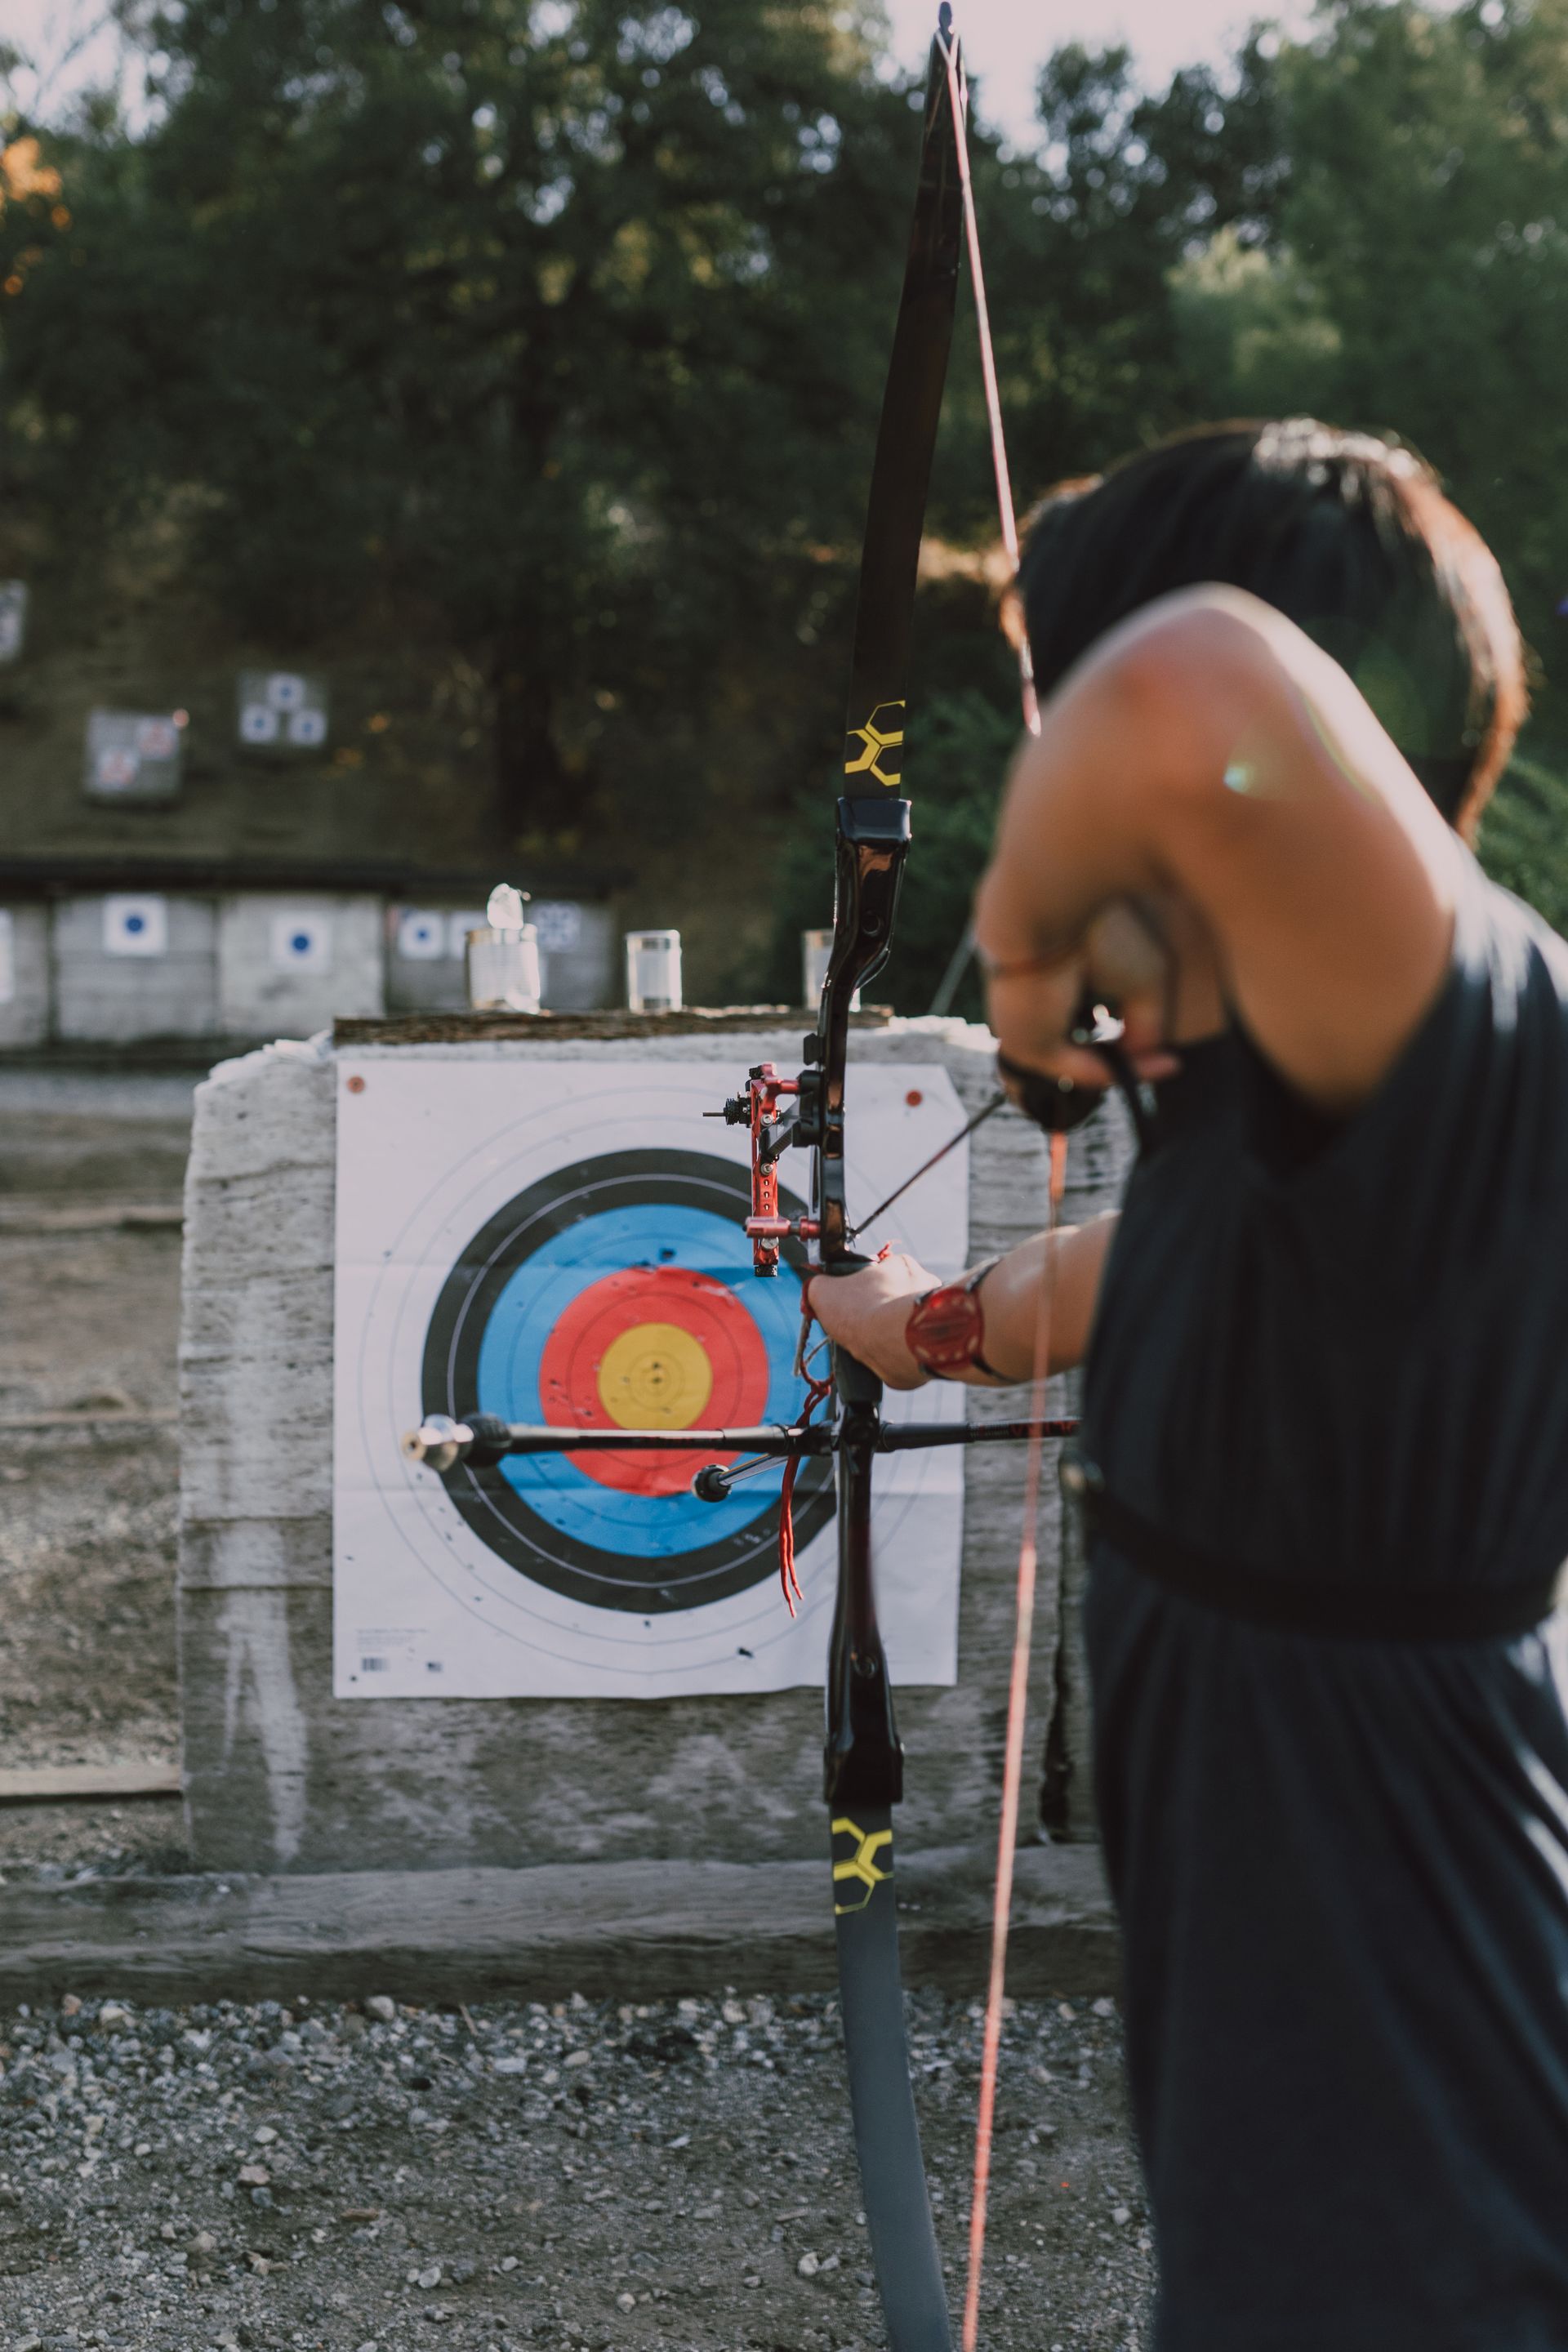
A coach-led framework for building tighter groups through stance, alignment, breathing, execution and useful practice notes.
Accuracy starts with the group
Do not chase the gold with constant sight changes. Your first objective is a repeatable group: arrows landing close together, wherever that group sits. Once the pattern is stable, adjust the sight or aiming reference to move the group.
Judge progress across several ends rather than one perfect arrow. Weather, fatigue and normal variation make single shots a poor measure of technique.
Build from the ground up
Set your feet in a repeatable position, roughly shoulder-width apart, with balanced pressure through the whole foot. Stand tall rather than leaning away from the bow. A neutral head position and quiet shoulders give the drawing side room to work.
Mark or photograph your foot position during practice if that helps you return to the same alignment. Any change should feel sustainable for a full session, not just strong for three arrows.
- Balanced stance
- Soft knees
- Tall spine
- Low, relaxed shoulders
Use a relaxed bow hand
The bow grip sits against the pressure line of the hand; it should not be squeezed like a handle. Excess finger tension can twist the bow at release and widen left-right groups. Use a correctly fitted sling so the bow can move naturally without fear of dropping it.
Make one change at a time. If your coach adjusts hand position, shoot enough arrows to understand the new pressure before changing your anchor or sight picture as well.
Create alignment, not strain
At full draw, effective alignment lets the skeleton carry more of the load while the muscles maintain direction and control. Think of the drawing elbow continuing around the body while the bow arm reaches steadily toward the target.
Back tension is not a last-second squeeze. It is a continuous, controlled movement through the aiming phase. If the draw weight prevents a calm hold or clean let-down, reduce it and protect your technique.
Aim calmly and breathe
The sight pin will move. Trying to freeze it in the centre often creates tension and a rushed release. Accept a small, controlled float and keep attention on your shot process.
Do not hold your breath for a long period. Many archers settle after a natural exhale, keeping the chest relaxed. If the shot takes too long or the picture deteriorates, come down safely, reset and begin again.
Let execution finish the shot
A clean release is the result of continuous direction, not a deliberate pluck of the string. Maintain the bow arm and drawing-side movement through the moment the string leaves the fingers or the release activates.
Follow-through is evidence of what happened before release. Avoid posing it. Instead, notice whether your hand, elbow and bow move consistently when the process is good.
Practise with evidence
Keep a short notebook. Record distance, round, weather, one technical focus and how the groups behaved. A simple note such as ‘group tightened when bow-hand fingers stayed soft’ is more useful than writing only the score.
Film from safe positions with a coach’s permission, and review one part of the shot at a time. If pain develops, stop and seek qualified guidance. Technique advice online cannot replace an in-person coach who can see your equipment, posture and range setup.
- Choose one focus for 12-24 arrows
- Score only some sessions
- Finish before fatigue breaks form
- Review progress with a qualified coach